 wedding ss
AI Photo Tips: How to Take the Right Portrait for Wedding Photos
The portrait you upload decides how good your AI wedding photos look. Learn the light, framing, expression and phone settings that give the most natural, true-to-life results.
In this article
- Why the photo you upload matters so much
- Light: the first of all AI photo tips
- Use window light
- Avoid harsh shadows and mixed light
- Framing: faces clear, visible and similar in size
- Hair, makeup and clothing
- Sunglasses, hats and the right expression
- Neutral expression or a smile?
- Resolution, sharpness and phone camera settings
- One couple photo or two separate portraits?
- One couple photo
- Two separate portraits
- Do and don't list
- Common mistakes checklist
- Privacy: your photos stay yours
- Start with the right portrait
If you want AI wedding photos that truly look like you, the most important step happens before you open the app. These AI photo tips show you how to take the right portrait: good light, clear framing and the right phone settings. A few minutes of preparation makes a visible difference.
Why the photo you upload matters so much
Wedding Shot Studio creates wedding photos in the style you choose, starting from a portrait of you and your partner. The app reads your face, hair and overall look from that photo. The clearer the source, the more the result will resemble you.
A blurry, dark or half-shadowed photo forces the AI to guess. More guessing means less likeness. The good news is that you need no professional gear. A phone, a window and a few simple rules are enough.
If you want to see the whole process first, take a look at how it works. Our broader guide to AI wedding photos is also a good place to start.
Light: the first of all AI photo tips
Light always comes first. Soft light that falls evenly on your face shows your real skin tone and features. Harsh light leaves dark shadows under the nose, in the eye sockets and below the chin. Those shadows can change how the shape of your face reads.
Use window light
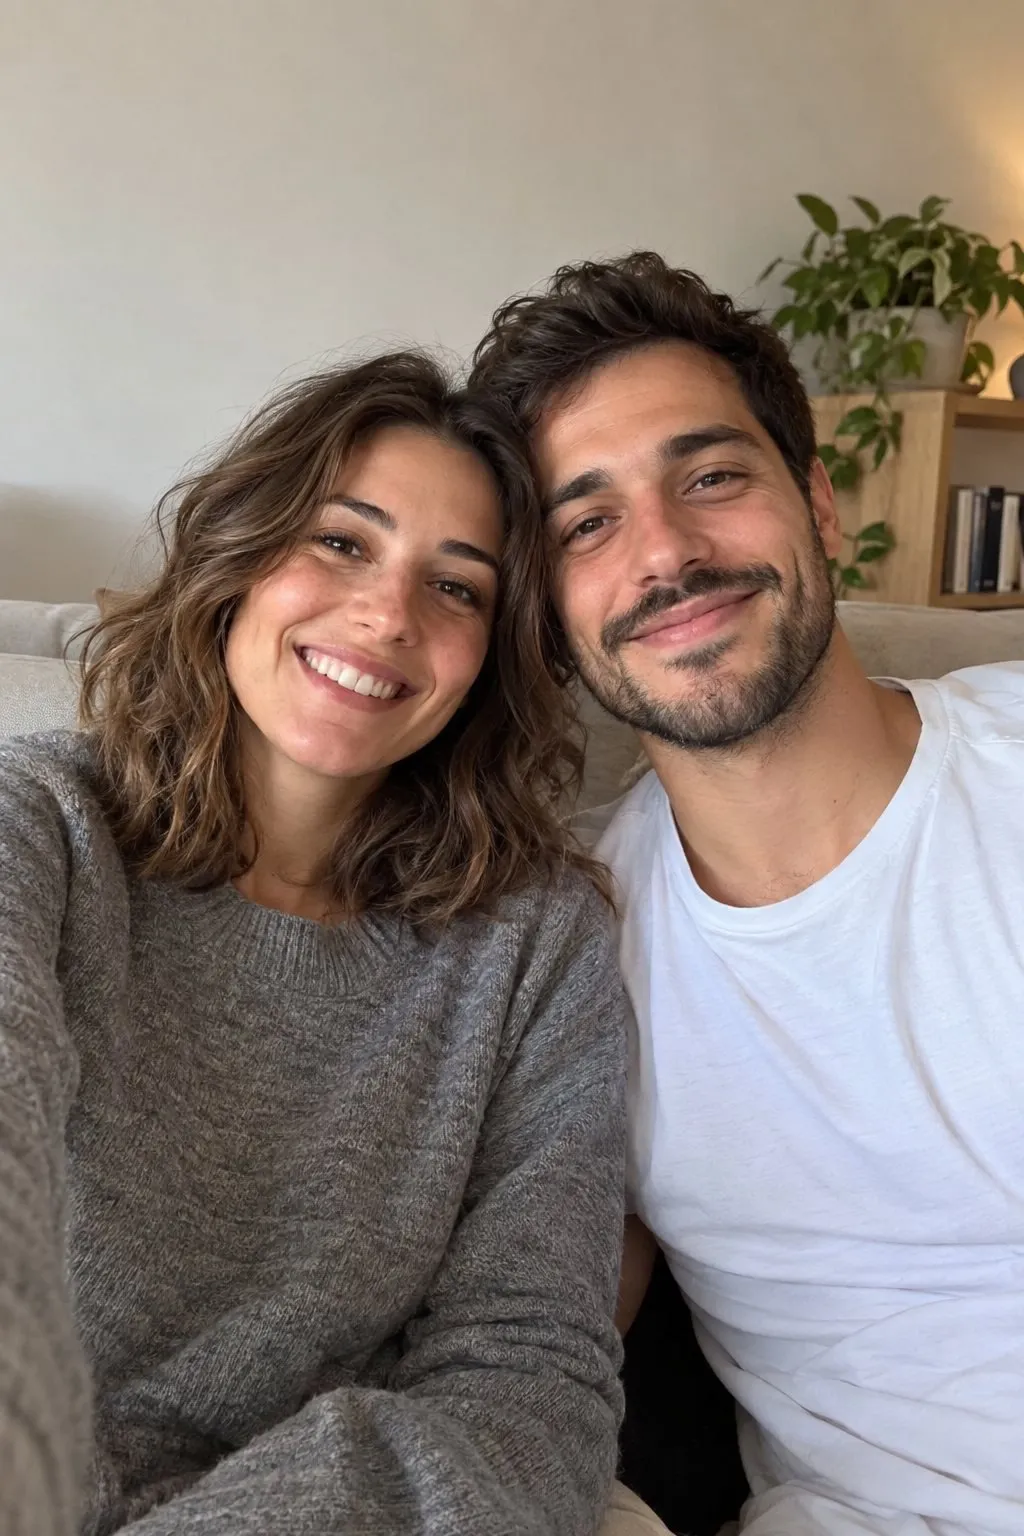
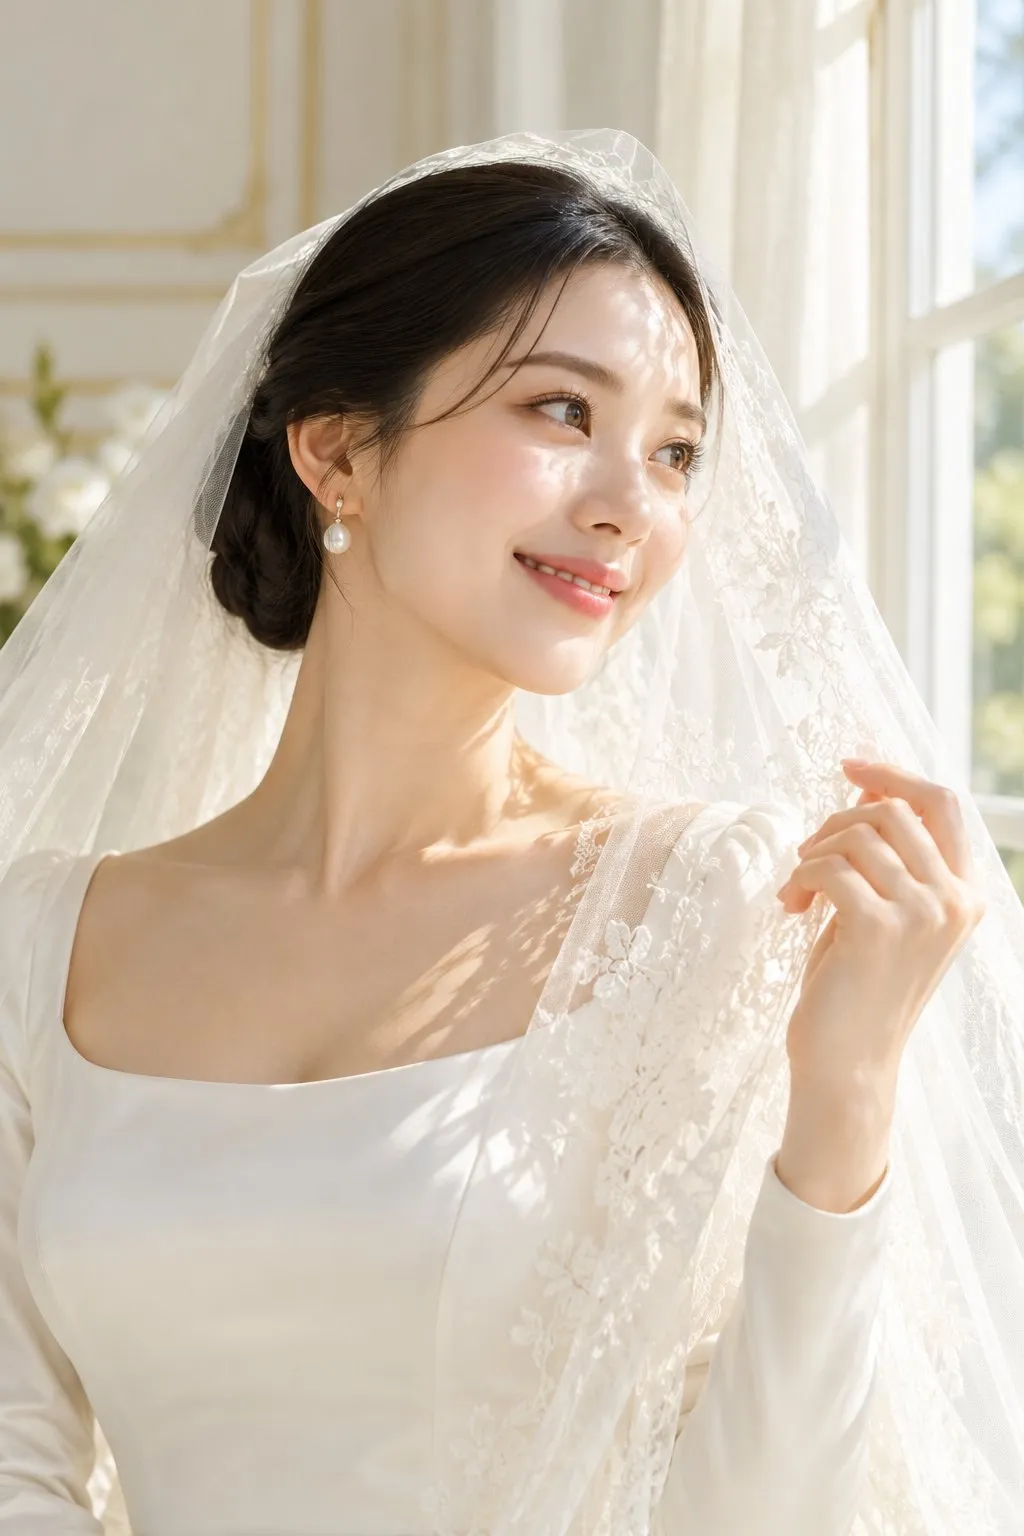
At home, the easiest solution is to face a window with daylight coming in. Turn your face toward the glass and hold the phone between the window and your face. The light then falls softly from the front. If direct sun is shining in, a thin sheer curtain diffuses it beautifully.
Early morning and late afternoon usually give the softest light. Outdoors, an overcast day or the open shade of a building works far better than direct sun. Under trees, watch out for dappled light that leaves bright spots on the face.
Avoid harsh shadows and mixed light
Midday sun, ceiling lights directly overhead and strong backlight are the most common problems. With a bright window behind you, your face turns into a dark silhouette. Mixing warm bulbs with cool daylight can also give the skin an odd color cast. Choosing a single light source is always safer.
If you are shooting in the evening, find the largest and softest light in the room. The phone flash flattens the face and creates glare in the eyes. Keep the flash off when you can, or simply wait for the next morning.
Framing: faces clear, visible and similar in size
Good framing helps the AI recognize your face easily. The best option is a head and shoulders portrait or a waist up shot. In distant full body photos the face is too small and fine details are lost.
- Show the whole face: Do not let hair, hands or a phone cover any part of it.
- Look toward the camera: A slight angle is fine, but both eyes should be visible rather than a full profile.
- Keep faces a similar size: In a couple photo, stand at roughly the same distance from the camera.
- Hold the camera at eye level: Shooting from far below or above changes facial proportions.
- Choose a simple background: A plain wall or a calm room keeps attention on you.
If one of you leans forward while the other stays back, the front face looks much larger. That can make proportions look inconsistent in the results. Standing shoulder to shoulder at the same depth gives the most balanced photo. If there is a big height difference, the taller partner can lean in slightly.
Hair, makeup and clothing
Photograph yourself the way you look most like yourself. Keeping your hair and makeup close to your everyday style is a good starting point. Very heavy makeup or a fringe that covers the eyes can hide your features.
Plain, solid colors are the safest choice for clothing. Busy patterns and large logos pull attention away from the face. A simple top that shows the neck and shoulders gives a clean look in a head and shoulders frame.
Sunglasses, hats and the right expression
Sunglasses hide the eyes completely, and the eyes are the most recognizable part of a face. Always take them off. Wide-brimmed hats, caps and hoods cause the same problem because they cast shadows across the face.
If you wear prescription glasses every day and want to keep them in your results, you can leave them on. Just watch for reflections in the lenses. Turning slightly away from the window usually reduces the glare.
Neutral expression or a smile?
The most flexible choice is a relaxed, natural, gentle smile. Big laughs that squeeze the eyes change your features and can look odd in some styles. A completely serious face can feel cold in romantic scenes. Keep it simple: relaxed face, loose shoulders, eyes toward the lens.
Resolution, sharpness and phone camera settings
Sharpness matters as much as light. If the face is blurry, fine details disappear in the result. Modern phone cameras are more than good enough, as long as you check a few settings. These AI photo tips for your phone take less than a minute.
- Clean the lens: A phone that lives in a pocket collects fingerprints. A quick wipe with a soft cloth removes the haze instantly.
- Use the rear camera: On most phones it is sharper than the front camera. Use the self timer or ask someone to help.
- Avoid digital zoom: Step closer instead of pinching the screen. If your phone has a 2x lens, facial proportions look more natural.
- Be careful with portrait mode: It blurs the background but can also soften hair edges and glasses frames. If in doubt, use the standard photo mode.
- Turn off beauty filters: Skin-smoothing removes the texture of your face. Upload your natural look so the results resemble you.
- Tap the face to focus: Tapping on the face sets focus and exposure exactly where they belong.
Upload the original file. Screenshots and photos forwarded through messaging apps are often compressed. Instead of an old picture saved from social media, taking a fresh photo for a few minutes usually gives a much better result.
One couple photo or two separate portraits?
Wedding Shot Studio supports both: a single photo of the two of you, or one portrait of each partner. Each option has its strengths.
One couple photo
Because it is taken at the same moment in the same light, skin tones and lighting stay consistent. Stand side by side, keep your faces at the same height and make sure no one casts a shadow on the other. Hugging poses are lovely, but if one face is half hidden, choose a simpler stance.
Two separate portraits
Separate portraits show each face larger and in more detail. They are also practical for couples living apart. The one rule is to shoot both in similar conditions: similar light, similar framing, similar distance. If one is taken in bright daylight and the other in a dim room, the results can look unbalanced.
Looking for pose ideas before you shoot? Our wedding poses guide has plenty of inspiration.
Do and don't list
The table below sums up the most useful AI photo tips at a glance. Use it as a quick checklist before you take your picture.
| Do | Don't |
|---|---|
| Shoot facing a window in soft daylight | Shoot in midday sun or under an overhead lamp |
| Frame head and shoulders or waist up | Use distant shots where the face is tiny |
| Remove sunglasses and hats | Cover the face with hair, hands or accessories |
| Clean the lens and focus on the face | Use digital zoom or beauty filters |
| Upload the original, sharp file | Upload screenshots or compressed photos |
| Stand side by side at the same depth | Let one face look much larger than the other |
Practical tip: take five or six photos a few seconds apart in the same spot. Then zoom in on your phone and keep the one where the eyes are sharpest. If the eyes are sharp, you most likely have the right photo.
Common mistakes checklist
Before uploading, look at your photo once more and ask yourself these questions:
- Is there a hard shadow anywhere on the face?
- Does a window or lamp behind you darken the face?
- Are the eyes sharp, or did the focus slip to the background?
- Do sunglasses, a hat or hair cover the face?
- In a couple photo, are both faces a similar size?
- Are there filters, stickers or text on the image?
- Are other people in the frame? If so, pick a shot with only the two of you.
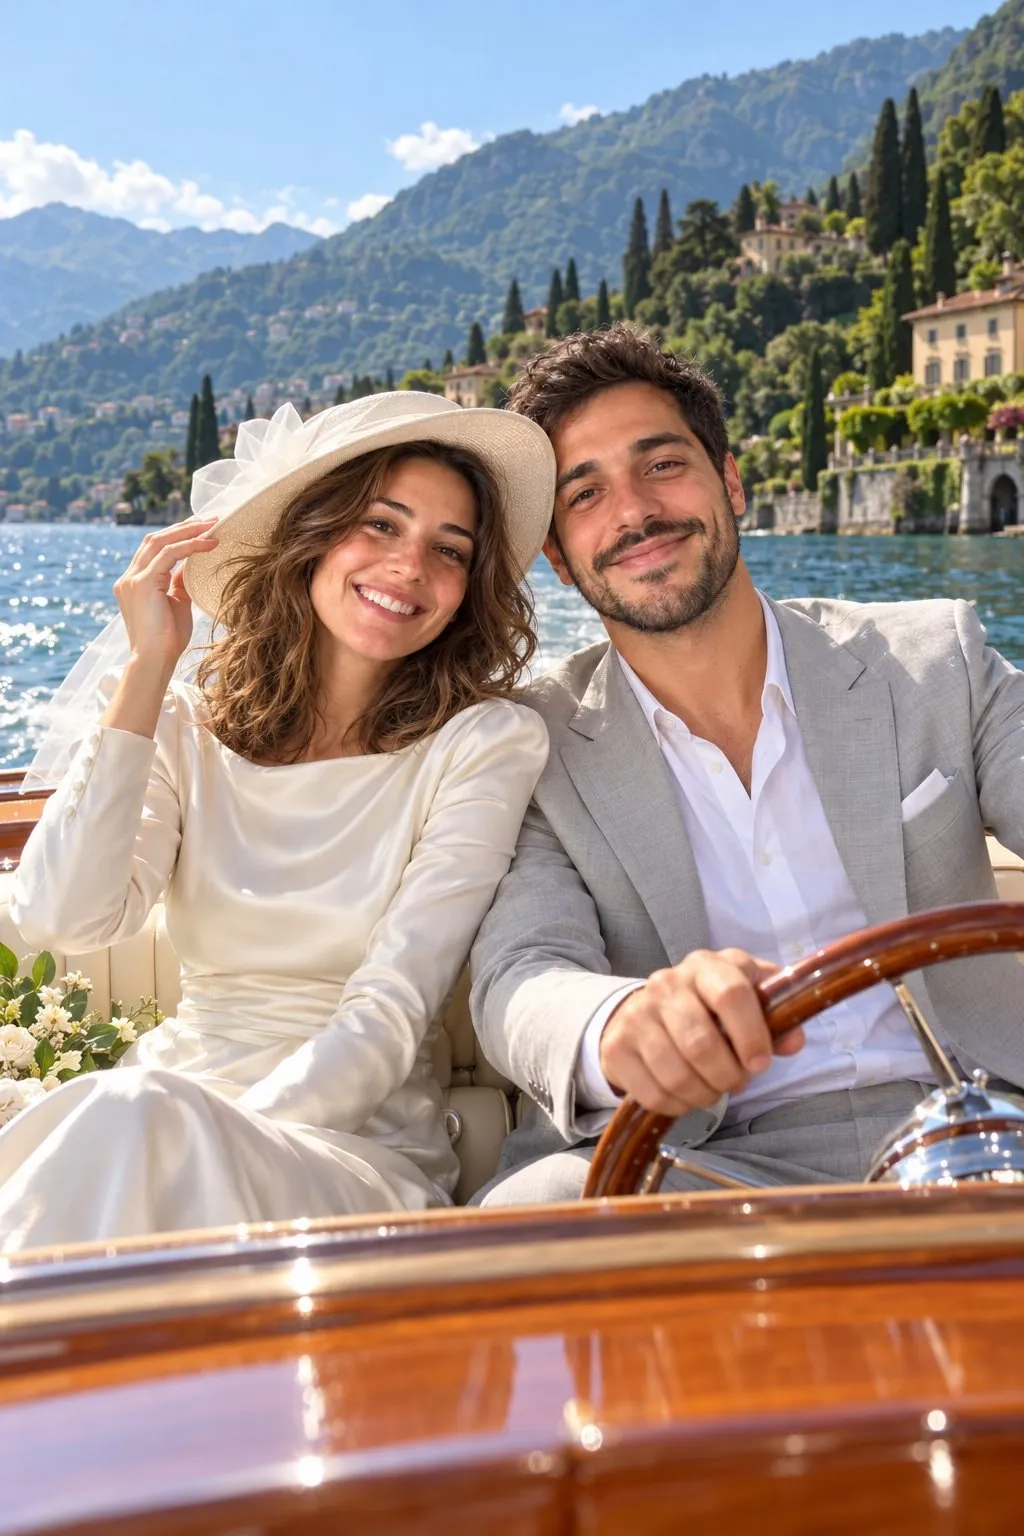
A photo that passes these checks is ready. Next, pick a scene from the style gallery. For example, a simple couple photo taken in soft light can become a bride and groom portrait on the shores of Lake Como. For more places like this, see our list of romantic wedding destinations.
Privacy: your photos stay yours
Uploading a personal portrait naturally raises privacy questions. In Wedding Shot Studio your photos are stored privately. The results appear only in your own private album.
You can download, share or delete the photos in your album at any time. If you decide to stop using the app, you can delete your account as well. As a good habit, upload only photos of yourself and your partner, with your partner's consent.
Start with the right portrait
In short, a great result starts with soft light, a clear face, simple framing and an unfiltered photo. These AI photo tips take only a few minutes, yet you will see the difference in your very first result.
Wedding Shot Studio does not replace a real wedding photographer. It is a fun way to try styles, see yourselves in places you cannot travel to and plan your ideas. When you are ready, stand in front of a window, take your best shot and create your first wedding photos with Wedding Shot Studio.
Frequently asked questions
What kind of photo works best for AI wedding photos?
A sharp portrait taken in soft daylight, with the whole face visible and framed from the head and shoulders or waist up. Upload the original, unfiltered file.
Can I upload a photo with glasses?
Take off sunglasses, because they hide the eyes. Prescription glasses you wear every day are fine, as long as there are no strong reflections in the lenses.
Is one couple photo or two separate portraits better?
Both work well. In a couple photo keep both faces a similar size, and with separate portraits shoot both in similar light and framing.
Is a front camera selfie good enough?
It can be, but the rear camera is sharper on most phones. If you take a selfie, hold the phone at arm's length, keep your face centered and turn off beauty filters.
Are my uploaded photos private?
Your photos are stored privately and the results stay in your own private album. You can delete them at any time and you can also delete your account.
Try these ideas with your own photo.
Upload one portrait of the two of you and get your wedding album in about a minute.
 Scan to get the appPoint your phone's camera at the code.
Keep reading

How to Make a Wedding Album That Tells Your Story
A practical guide on how to make a wedding album: how many photos to pick, how to build the story, layout and pacing, black and white, covers, backups and creative AI extras.
AI Wedding Photos: The Complete Guide to Realistic Results
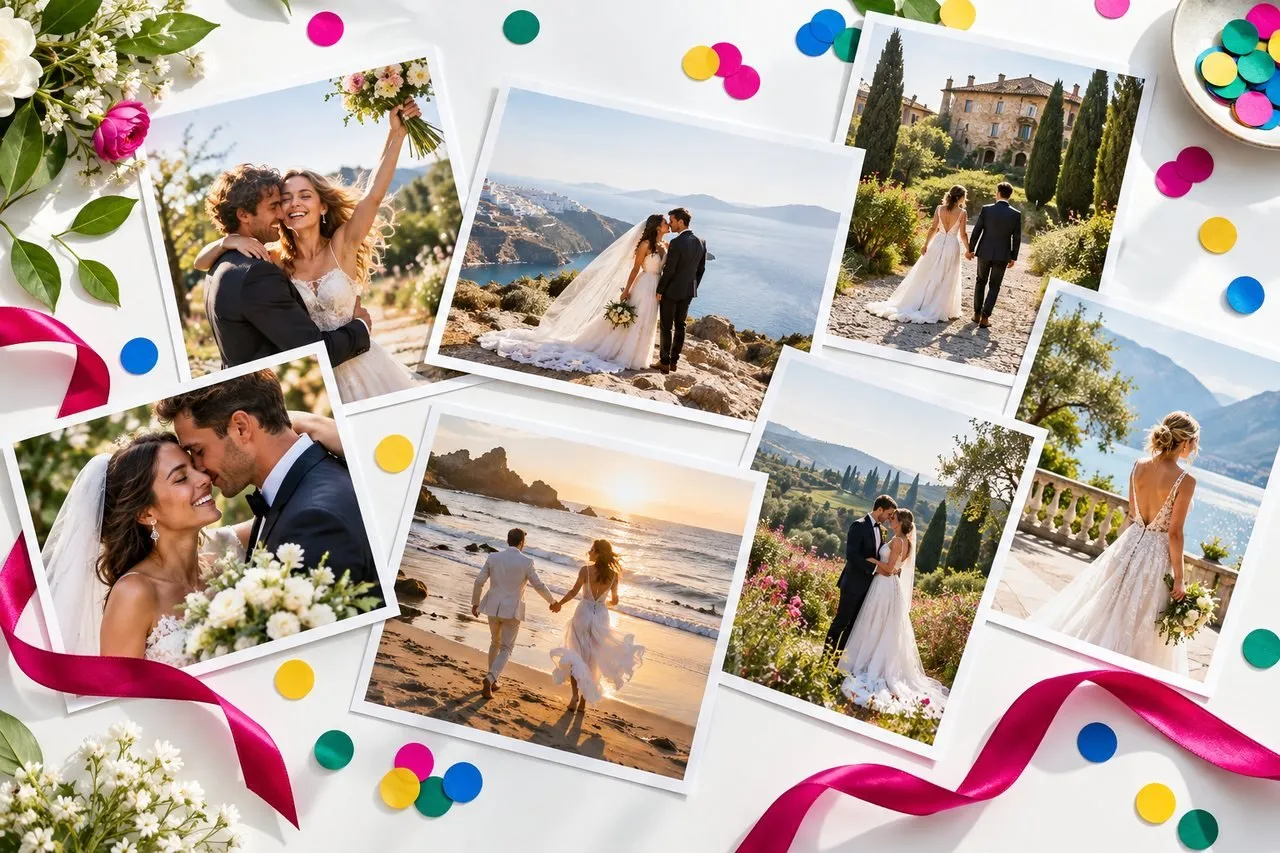
How do AI wedding photos work, which photo should you upload, and how do you pick a style and destination? A practical guide to realistic results and privacy.

Wedding Photo Locations: 12 Most Romantic Places on Earth
From Santorini to New York, the 12 most romantic wedding photo locations, with the best spot, light, season and outfit for each, plus a handy comparison table.