 wedding ss
How to Make a Wedding Album That Tells Your Story
A practical guide on how to make a wedding album: how many photos to pick, how to build the story, layout and pacing, black and white, covers, backups and creative AI extras.
In this article
- An album is a story, not an archive
- Choosing photos: how many and which ones
- Build the narrative chapter by chapter
- Getting ready
- Traditions: henna night and the civil ceremony
- Cake cutting and the first dance
- The exit and the getaway car
- Layout and pacing
- Mixing color and black and white
- Choosing the cover
- Digital or printed album?
- Back up your photos first
- AI scenes as a creative extra
- How to make a wedding album, step by step
- Your story, your pages
When you sit down to make a wedding album, you are really turning hundreds of files into one story. A good album holds more than pretty pictures. It carries the feeling of the day, from nervous morning laughter to the last wave goodbye. This guide walks you through every decision, from choosing photos to picking a cover and adding creative AI scenes.
An album is a story, not an archive
Most photographers deliver several hundred images. Printing all of them creates a crowd nobody wants to read. An album works more like a short film, with a beginning, a middle and an end.
So before you open a single folder, ask one question: how should someone feel when they turn these pages in twenty years? Your answer might be joy, elegance or family warmth. Every photo you keep should serve that feeling.
Also decide who the album is for. If you make a wedding album for your parents too, let it lean on family portraits. Building both from one shortlist saves time.
Choosing photos: how many and which ones
Selection is the longest step when you make a wedding album, so give it a clear system. A classic printed album has around 20 to 40 spreads. At two to four photos per spread, 60 to 120 images is a comfortable range for most couples. A minimalist album can tell a strong story with about 50.
Work in three rounds. In round one, flag only the photos you would be upset to lose. In round two, pick the single best frame from every group of near duplicates. In round three, look for gaps in the story and fill them.
- Cut repetition: keep the sharpest, most natural frame of each pose, not all three.
- Check the eyes: closed eyes, soft focus on faces or half smiles are easy cuts.
- Choose emotion over perfection: a slightly grainy photo of tears beats a flawless but empty one.
- Keep the details: rings, invitations, shoes and table settings give the pages room to breathe.
- Make room for guests: grandparents, kids and friends on the dance floor are living witnesses of the day.
Try making separate shortlists, one each, and then merge them. You will both see your favorite moments in the final book. For any photo only one of you picked, a quick chat usually settles it. Explaining why you love a frame often tells you whether it belongs.
Build the narrative chapter by chapter
Splitting the album into chapters gives the pages a natural flow. Each chapter works like a scene: a short opening, one strong hero image and a few supporting details. Follow the real timeline of the day so readers never feel lost.
Getting ready
Most stories begin in the morning. The dress hangs by the window, the groom wrestles with his tie, the best man hands over the cufflinks. These frames set an intimate, warm tone for the first pages.
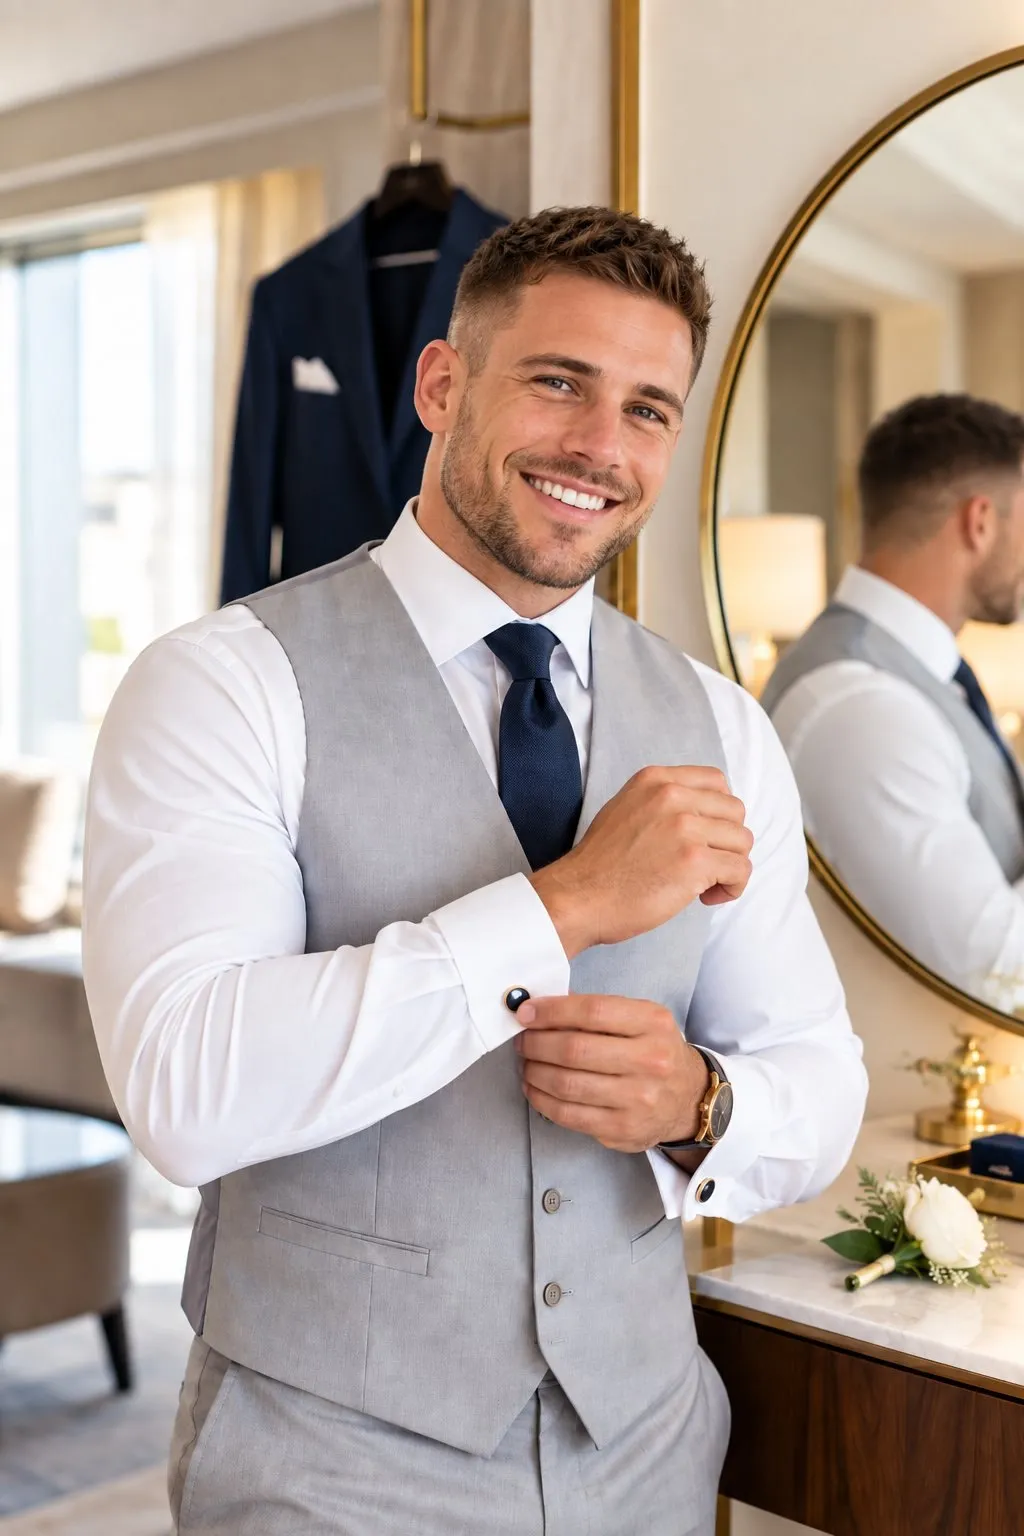
Open the chapter with a wide shot of the room, then move to close details. Portraits lit by soft window light are often the most elegant pages here. A parent fixing the veil or waiting at the door closes the chapter on an emotional note.
Traditions: henna night and the civil ceremony
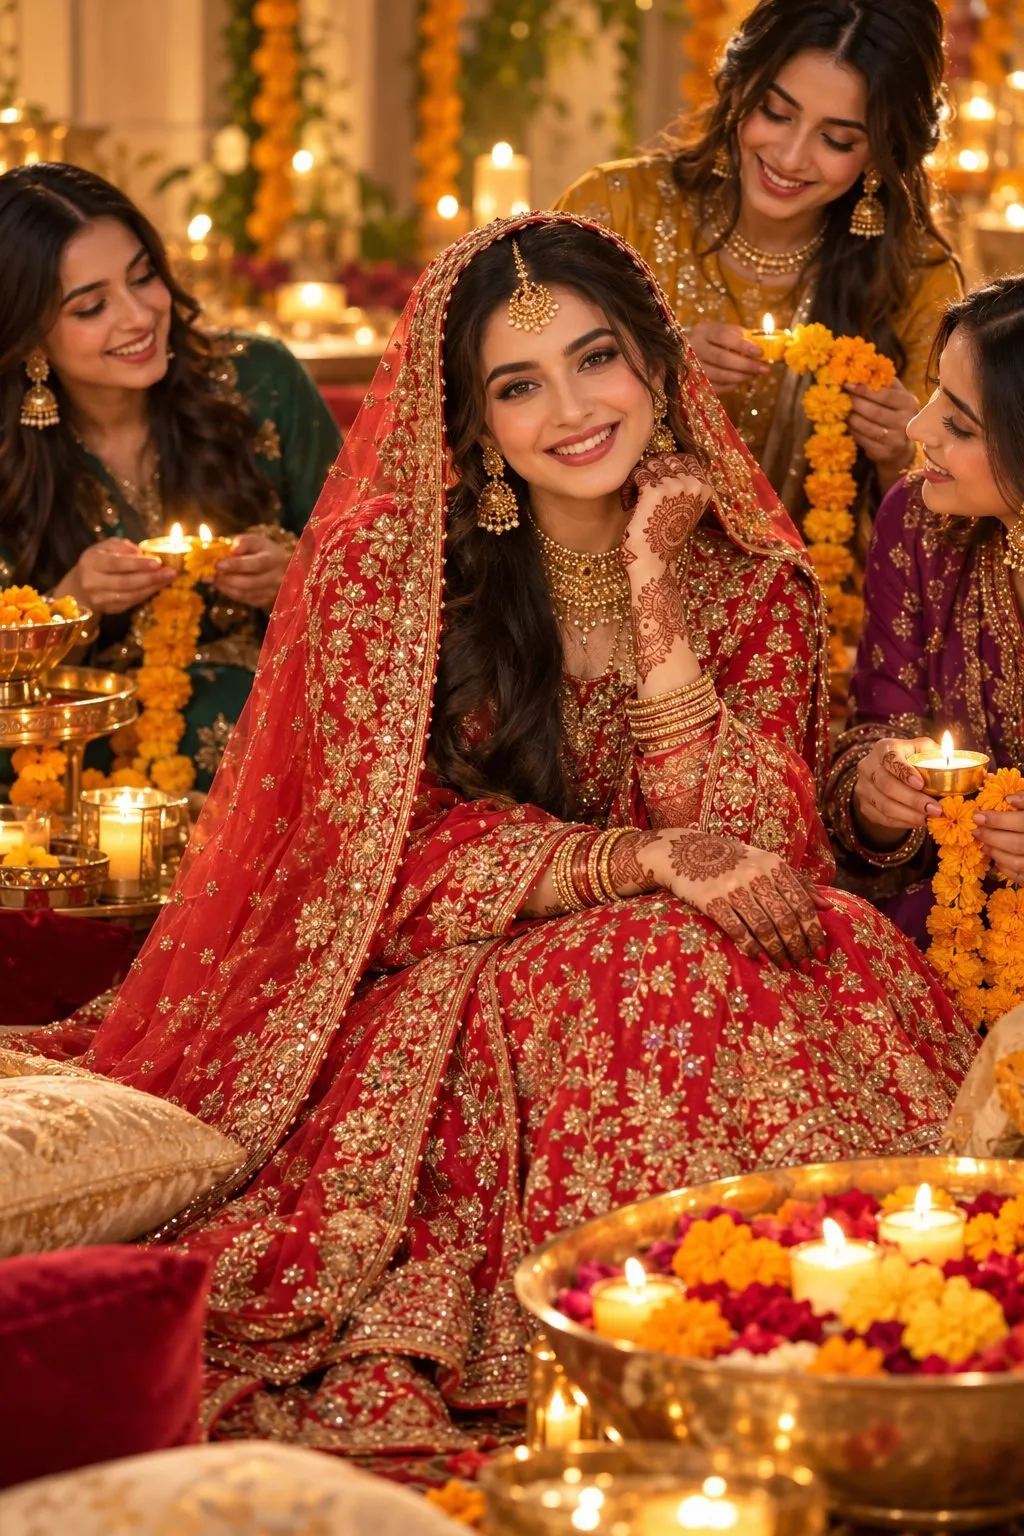
For many couples the story starts before the wedding day. In Turkish, South Asian and Middle Eastern families, a henna night brings red veils, candlelit trays and songs. If you celebrated with henna, give that evening its own chapter. These are often the pages families return to most.
The civil ceremony is the official heart of the story. Signing the register, exchanging rings and the photos with your witnesses all deserve a place. If your registry office or courthouse ceremony happened on a different day, give each day its own chapter so the album never blurs them together.
Cake cutting and the first dance
Cake cutting, the first dance and the packed dance floor form the liveliest part of the album. Use one strong image as a full page, then line up small candid frames beside it.
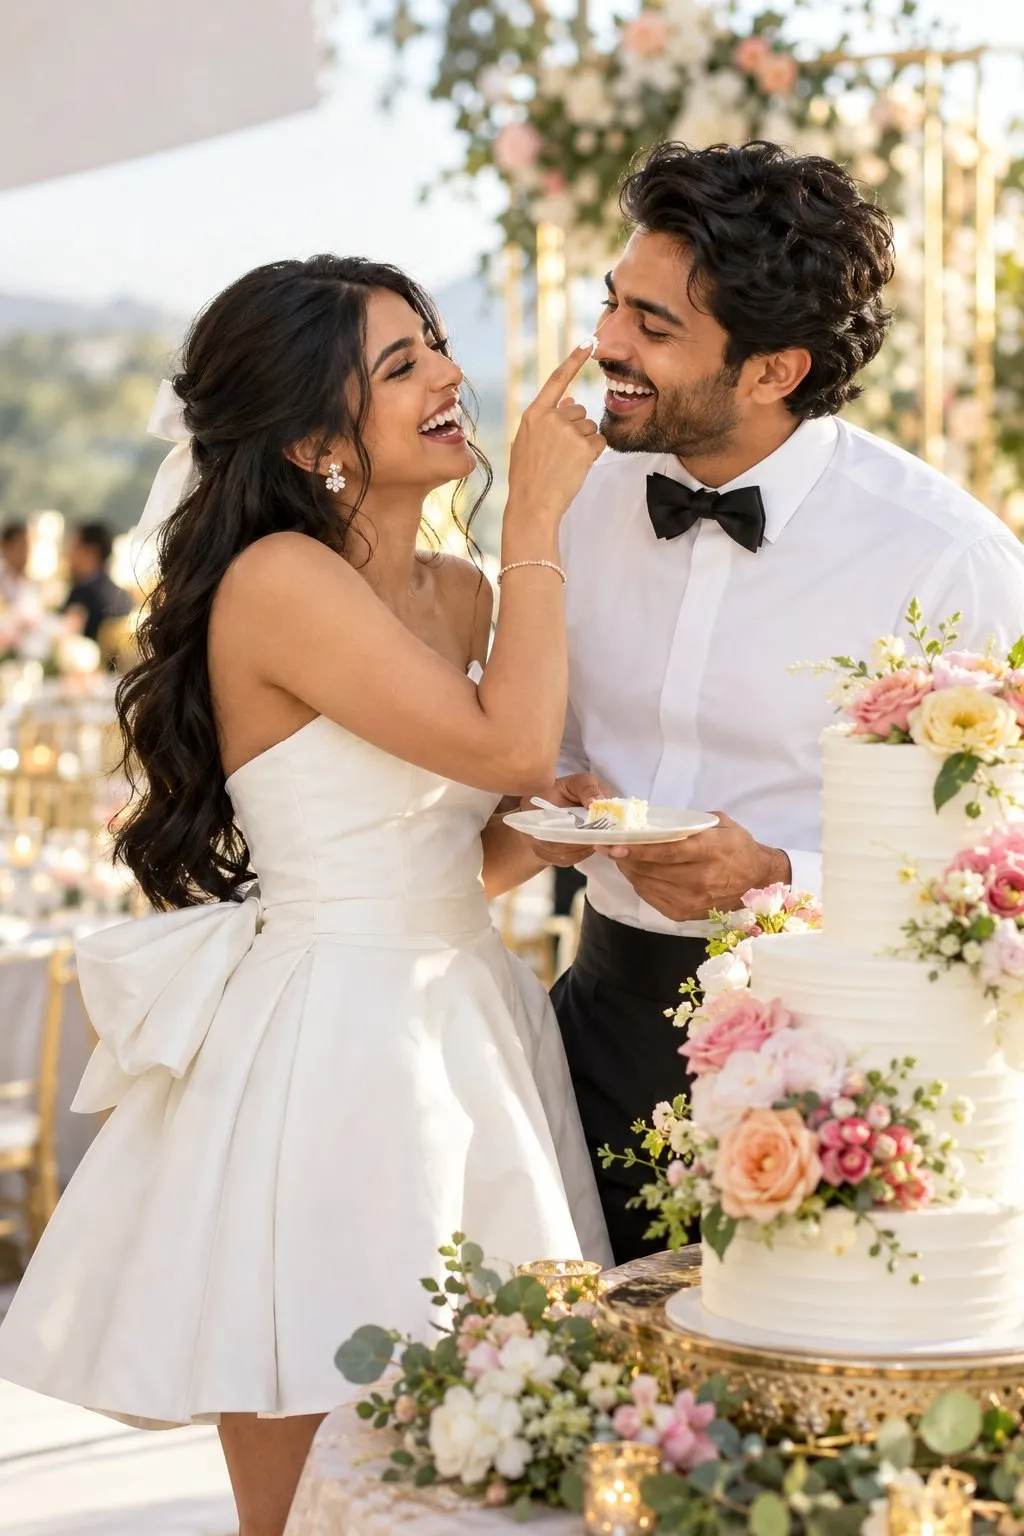
For the first dance, a wide shot shows the room and the lights. A close shot catches the look between you. Placing both on the same spread completes the scene and pulls the reader back into the moment.
The exit and the getaway car
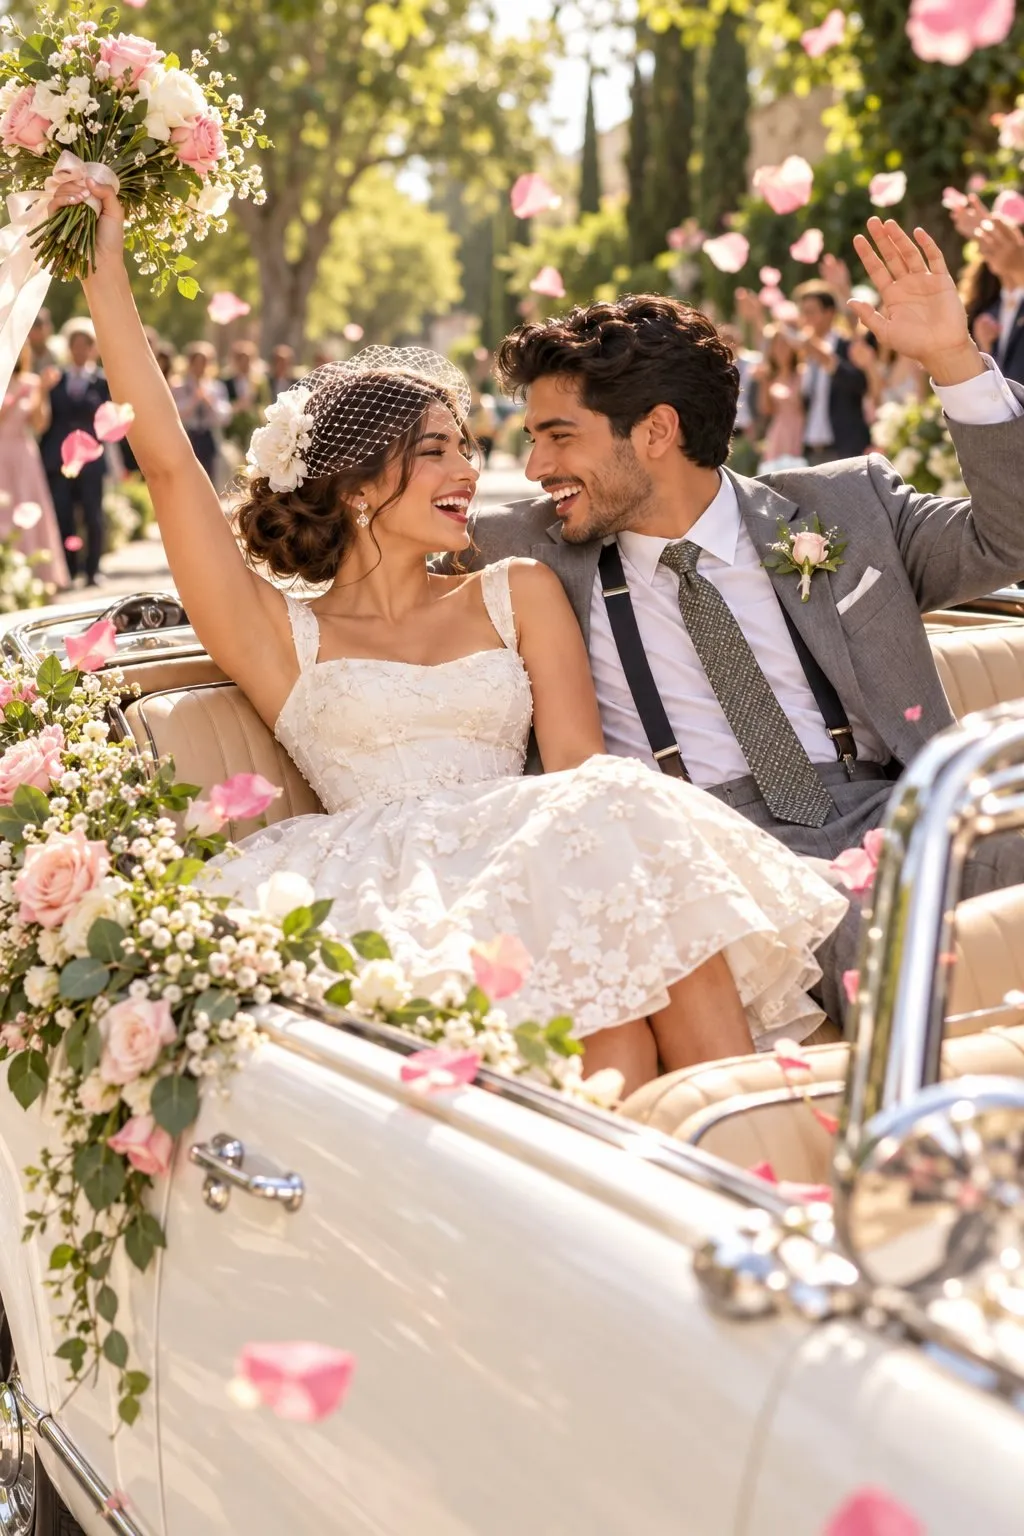
The final chapter is the goodbye. Confetti, a decorated getaway car and guests waving behind you end the album with a proper send off. A night exit shot with blurred lights in the background makes an ideal last page.
Layout and pacing
Pacing is the part people forget when they make a wedding album. A good album has rhythm, like music. After a busy spread, give the eye a calm page with a single photo. These pauses let the important images stand out.
As a rule of thumb, give one in every three or four spreads to a single full page image. Let people on the left and right pages face each other, so faces turn toward the center. Never place a face or eyes across the middle fold, because that area bends into the binding.
Do not fear white space. A page with generous margins looks more refined than one filled edge to edge. Avoid pairing photos with very different light on the same spread. A sunny garden frame next to a yellow ballroom frame will always feel slightly off.
If you want ideas for a wider range of shots, our guide to wedding photo poses also shows which frames to look for in your gallery.
Mixing color and black and white
Black and white photos add a timeless mood. Scatter them randomly, though, and the pages look restless. Use black and white with a clear purpose:
- Emotional moments: a father's tears, the vows, long hugs.
- Difficult light: frames shot under mixed colored venue lights.
- Chapter openers: start a new chapter with one black and white image.
The safest approach is to keep each spread either fully color or fully black and white. If you mix them, make the black and white image a single large one. Across the whole book, roughly one photo in four or five in black and white feels balanced for most stories.
Choosing the cover
The cover is the first sentence of your album. Linen, leather and printed photo covers are the most common choices. Linen and leather age gracefully over the years. Photo covers feel more personal at first glance.
If you choose a photo cover, pick a simple, strong frame. A portrait with both faces clearly visible and a calm background works best. Your names and the date in small, fine lettering are all you need. Quiet colors like ivory, midnight blue or sage green match most wedding palettes.
Digital or printed album?
| Feature | Digital album | Printed album |
|---|---|---|
| Sharing | Instant, by link | Hand to hand, during visits |
| Capacity | Almost unlimited | A curated selection |
| Lifespan | Depends on formats and backups | Decades if stored well |
| Feel | Practical and fast | Tactile and ceremonial |
For most couples the best answer is both. A large digital gallery keeps every frame, while the printed book carries the curated story. Before you order the print, ask for a digital proof and check the colors on a well calibrated screen.
Back up your photos first
Before you make a wedding album layout, secure every original file. Trusting a single external drive or a single phone is the most common mistake couples make.
Practical tip: follow the 3-2-1 rule. Keep three copies of your photos on two different types of storage, with one copy outside your home, for example in a cloud service. Name folders by date and chapter, such as "2026-09-12_01_getting-ready".
Also ask how long your photographer's online gallery will stay open. Many galleries expire after a set period, so download everything early. Use the week after the wedding to gather guests' phone photos into one shared folder.
AI scenes as a creative extra
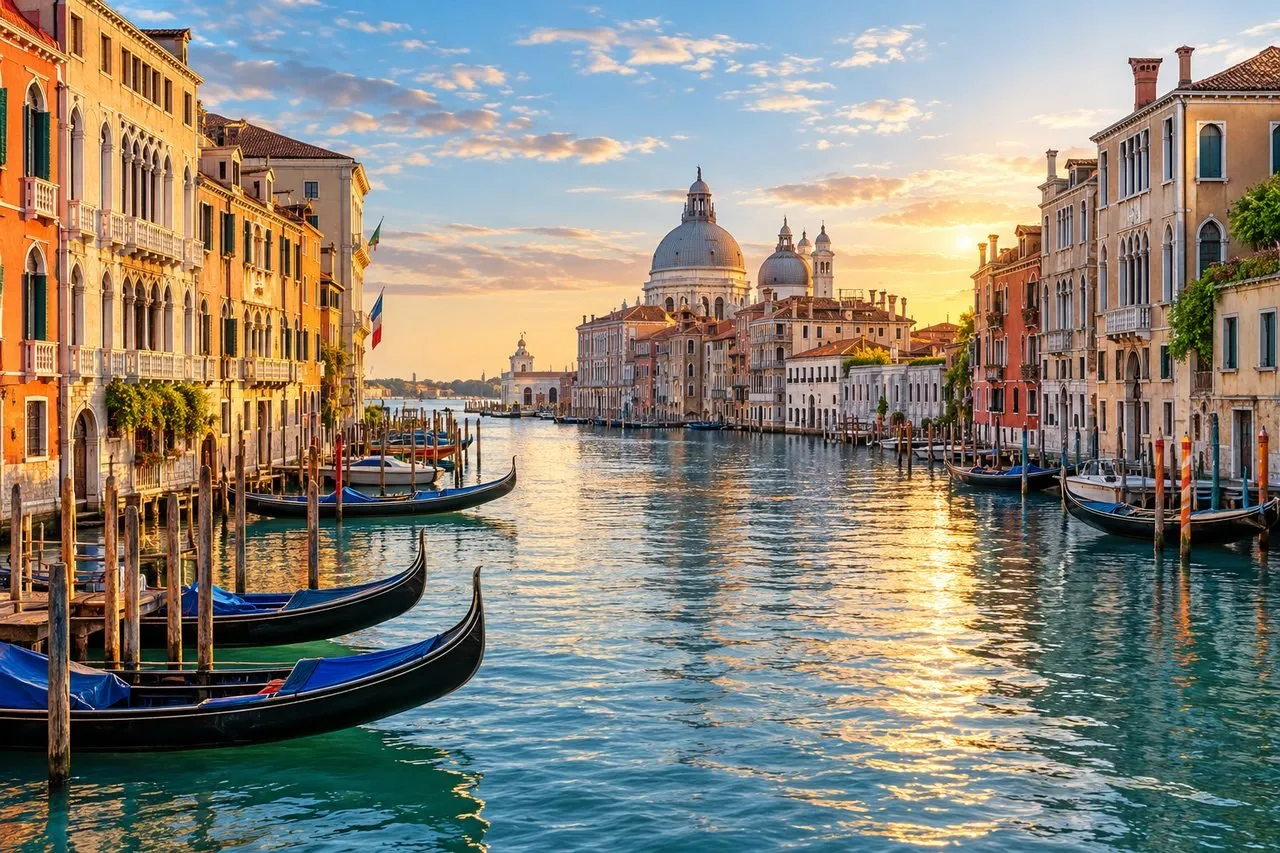
Some dreams do not fit into one wedding day. Maybe you pictured a gondola ride through the canals of Venice but could not travel. Maybe there was no photographer at the henna night, or rain cancelled your outdoor session.
With Wedding Shot Studio you can upload one photo of the two of you, or one portrait of each partner, and get wedding photos in a chosen style in about a minute. The style gallery includes destinations like Santorini Morning and Amalfi Coast, traditions like Henna Night and Civil Ceremony, and celebrations like First Dance and Photo Booth.
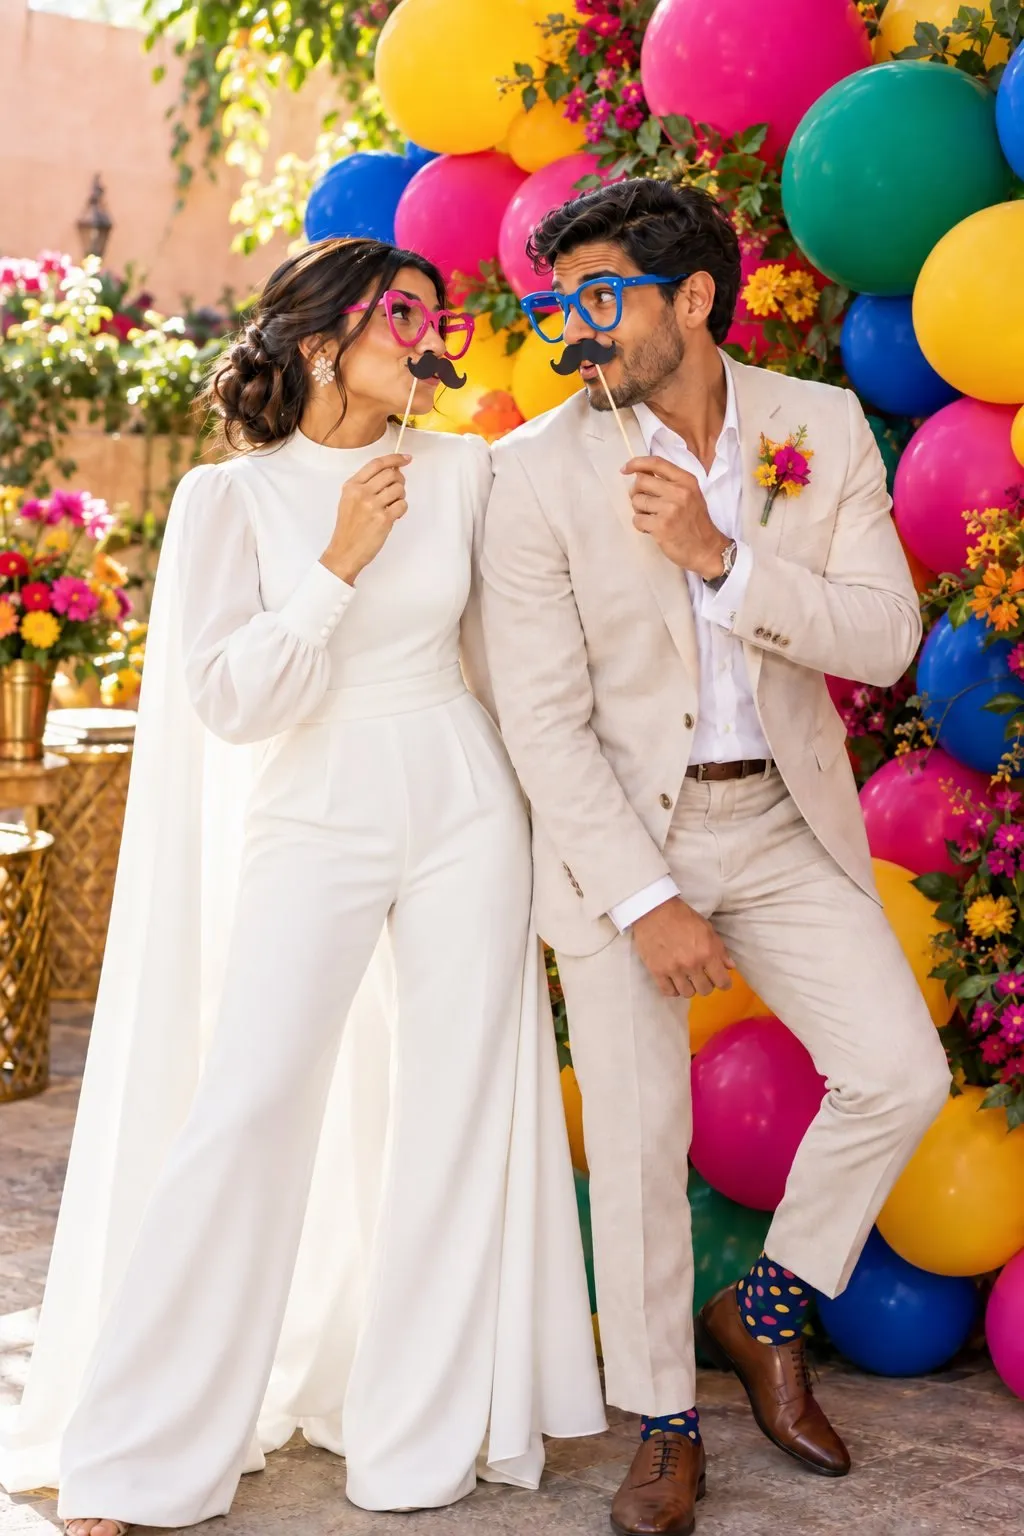
When you make a wedding album with these images, be honest. Use them as a creative extra, never as a replacement for your real wedding photos. A separate final chapter called something like "Our Dreams" works well. Add a small note saying the images were created with AI.
The app does not replace a real wedding photographer. It is a fun way to picture places you could not reach or moments you missed. Results are saved in your private album, so you can download the frames you want to print. See how it works, or read our guide to AI wedding photos. For destination ideas, our list of romantic wedding destinations is a good place to start.
How to make a wedding album, step by step
- Back up every file. Secure the originals with the 3-2-1 rule.
- Define the feeling. Write one sentence about what the album should say.
- List your chapters. Getting ready, henna night, civil ceremony, ceremony, cake, first dance and exit.
- Select in three rounds. Must haves first, then best frames, then missing moments.
- Match photos to pages. For 30 spreads, 80 to 100 images is usually enough.
- Balance color. Save black and white for meaningful moments.
- Sketch the layout. Place full page images between busy spreads.
- Keep creative extras separate. Put AI scenes in a final chapter with a clear note.
- Choose the cover. A simple portrait or a linen cover with your names.
- Check the proof. Look for typos, color shifts and bad crops before you approve.
Your story, your pages
You may not finish your album in one weekend, and that is fine. Take your time with the selection, build clear chapters and let the pages breathe. Once you make a wedding album you love, you can add a creative final chapter with Wedding Shot Studio for the dreams that did not fit into the day. Before uploading, check our portrait photo tips to get the best results.
Frequently asked questions
How many photos should go in a wedding album?
For a classic album of 20 to 40 spreads, 60 to 120 photos suits most couples. A minimalist album can tell a strong story with around 50.
How long does it take to make a wedding album?
It depends on the size of your gallery, but couples who select in three rounds usually finish a draft within a few weekends. Allow extra time for proofs and printing.
Can I mix color and black and white photos in one album?
Yes, as long as you do it with purpose. Use black and white for emotional moments or chapter openers, and keep each spread in a single style for the cleanest look.
Is it okay to add AI generated photos to a wedding album?
Yes, as a creative extra rather than a replacement for real wedding photos. Place them in a separate final chapter with a short note explaining how they were made.
Should I choose a digital or a printed wedding album?
Both work best together. A digital gallery stores every frame and is easy to share, while a printed album turns your curated story into something you can hold for decades.
Try these ideas with your own photo.
Upload one portrait of the two of you and get your wedding album in about a minute.
 Scan to get the appPoint your phone's camera at the code.
Keep reading
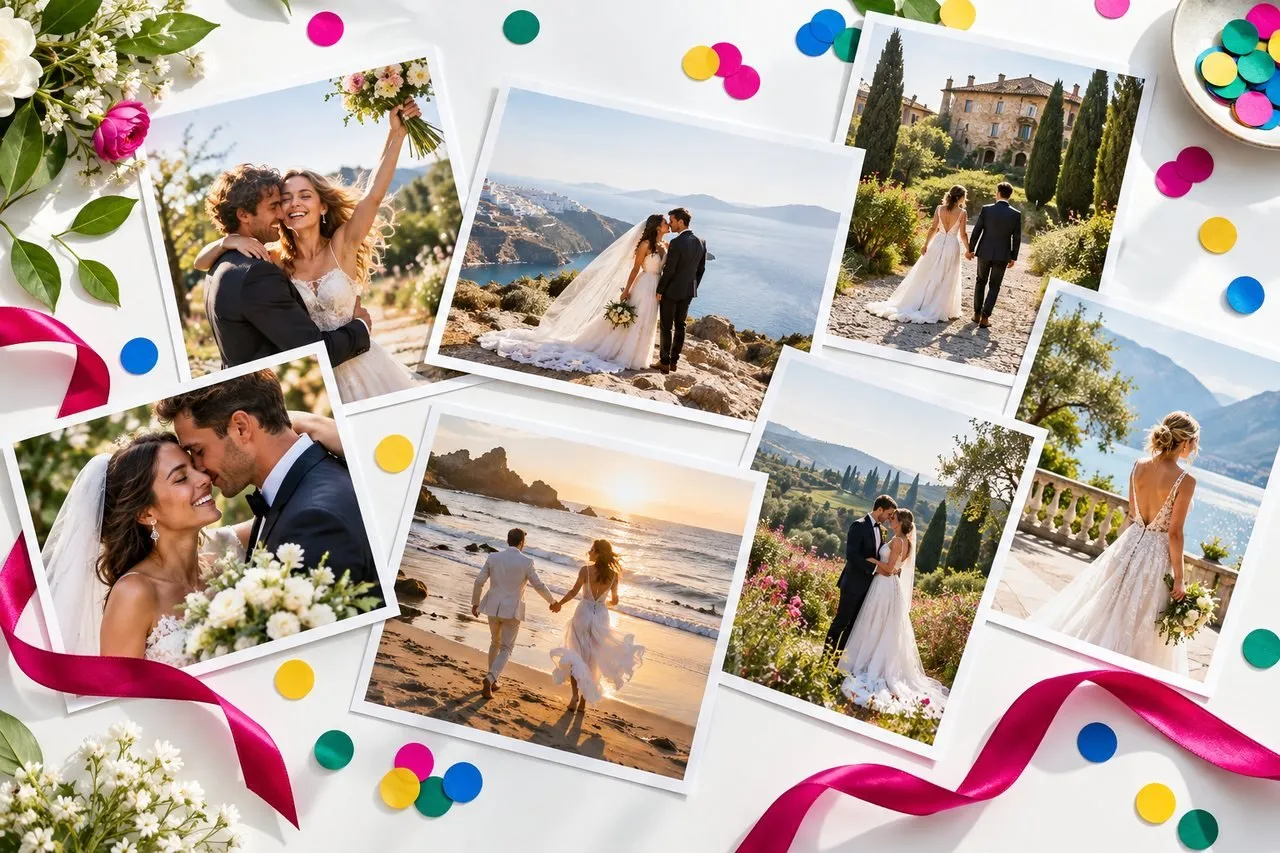
AI Wedding Photos: The Complete Guide to Realistic Results
How do AI wedding photos work, which photo should you upload, and how do you pick a style and destination? A practical guide to realistic results and privacy.
AI Photo Tips: How to Take the Right Portrait for Wedding Photos
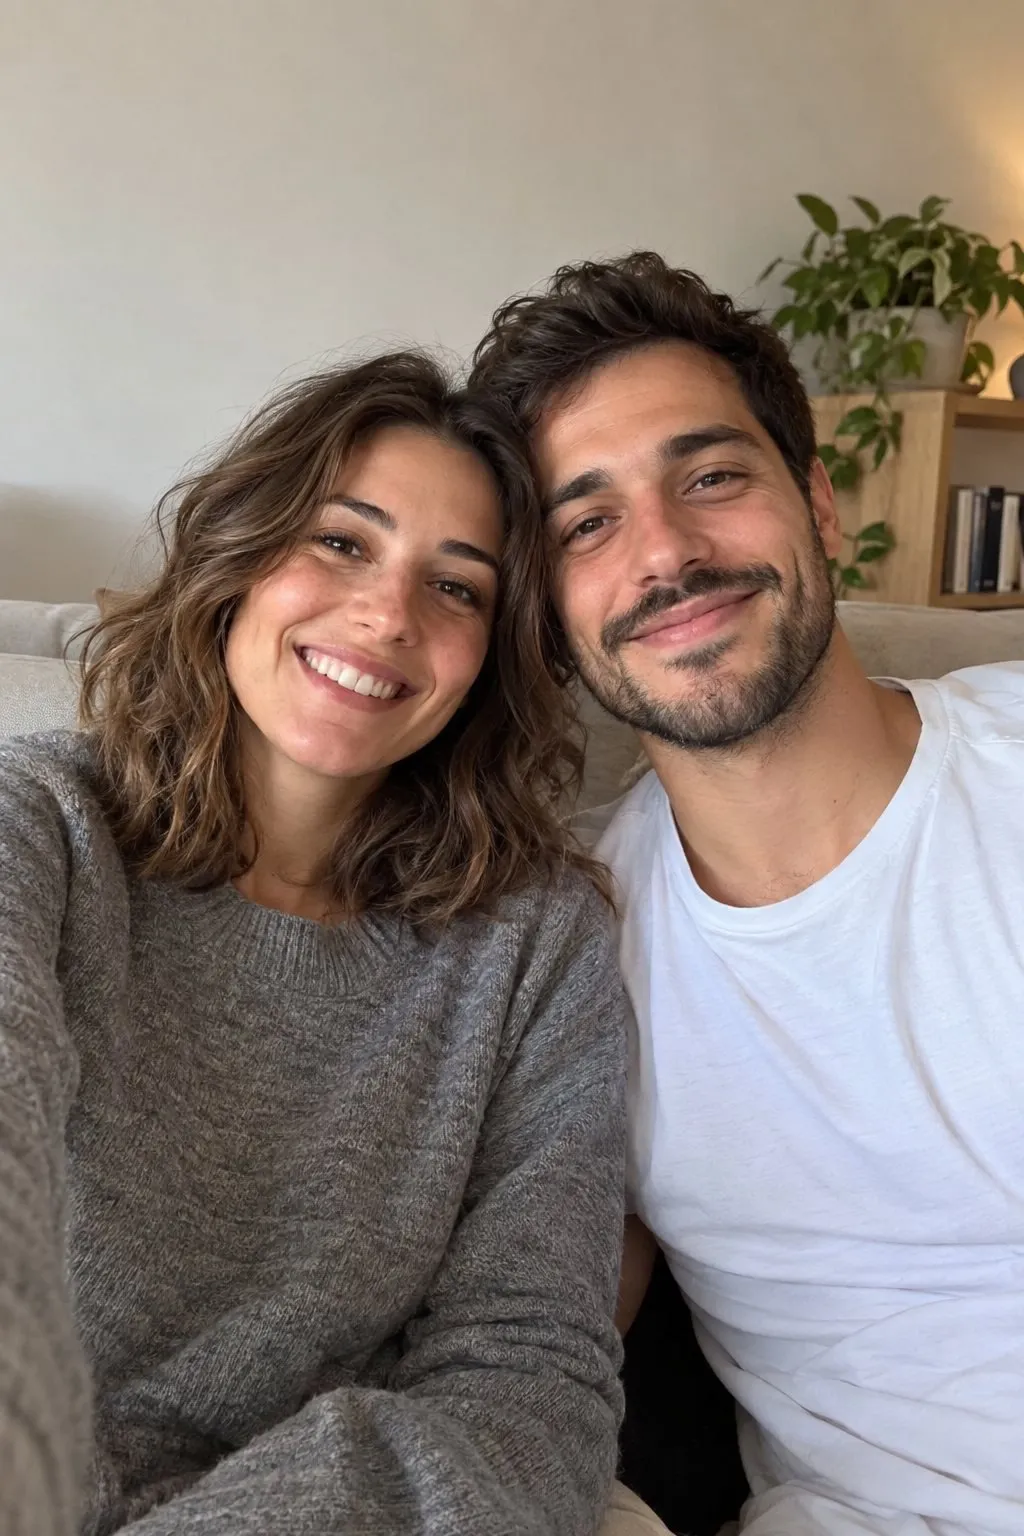
The portrait you upload decides how good your AI wedding photos look. Learn the light, framing, expression and phone settings that give the most natural, true-to-life results.

Wedding Photo Locations: 12 Most Romantic Places on Earth
From Santorini to New York, the 12 most romantic wedding photo locations, with the best spot, light, season and outfit for each, plus a handy comparison table.